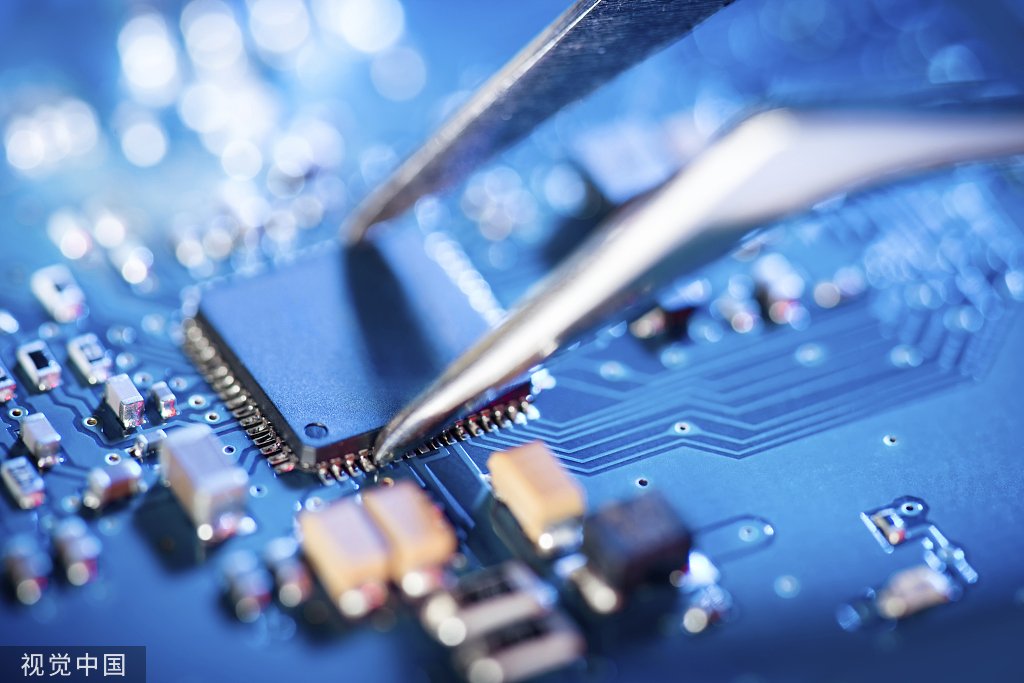
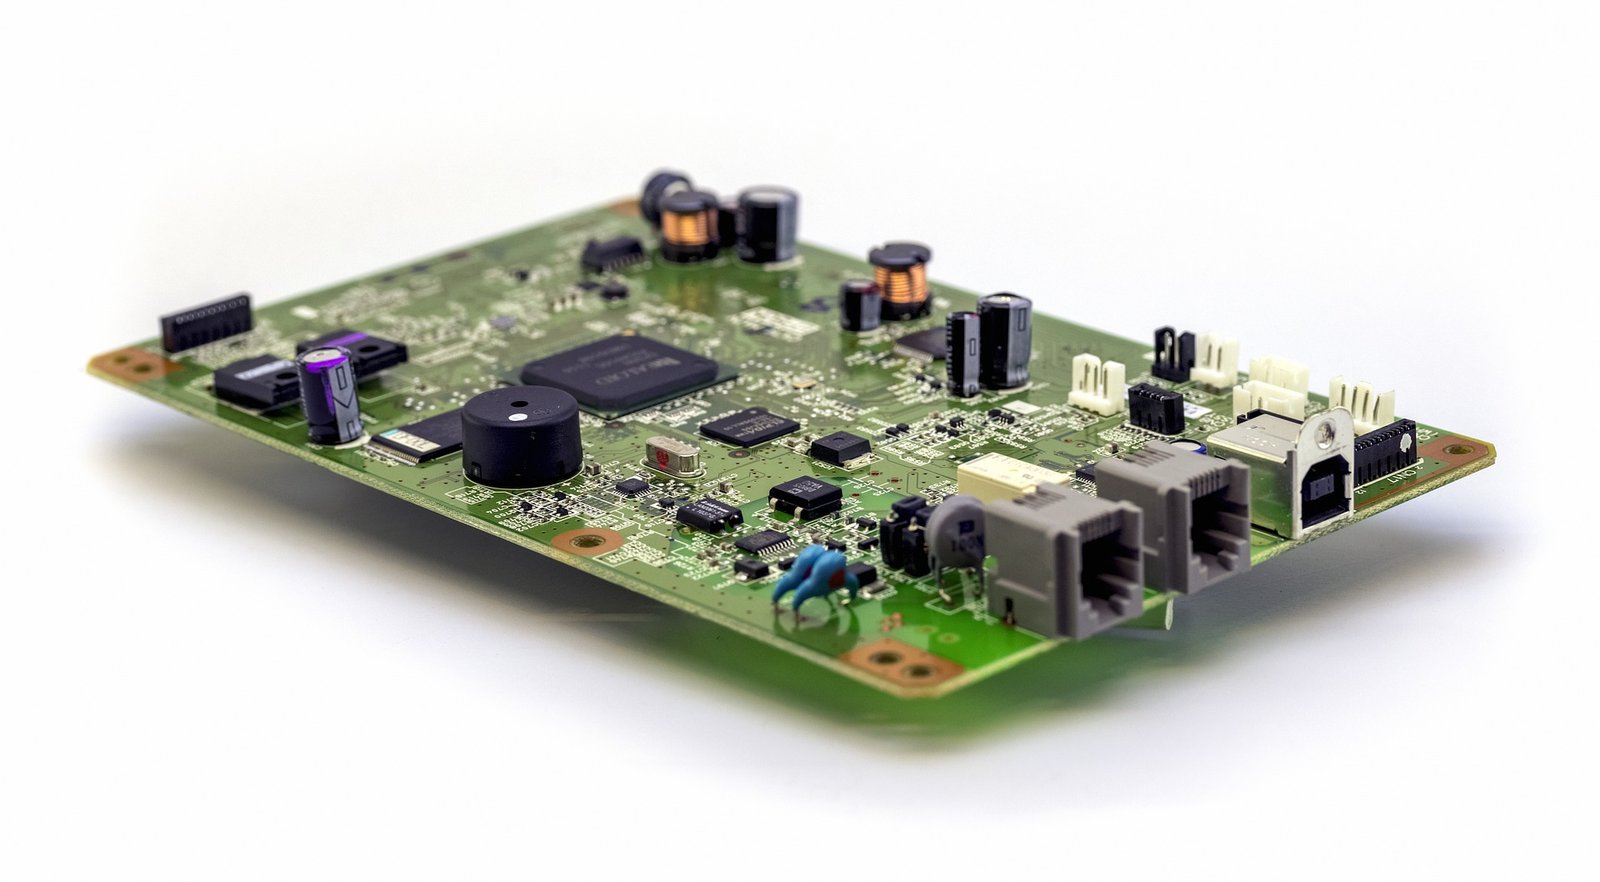
Creating a mechanical keyboard PCB (Printed Circuit Board) is a meticulous process that involves several stages, from design to manufacturing. This article will outline the steps to design and manufacture a PCB tailored specifically for mechanical keyboards, covering critical aspects such as layout, materials, and assembly. Partnering with a reliable pcba manufacturer like ArisenTec ensures that each step is executed with precision and efficiency.
1. Design and Layout
The first step in making a mechanical keyboard PCB is designing the layout. This process begins with understanding the keyboard’s matrix, which is the grid of connections that detect key presses. A typical mechanical keyboard uses a matrix to minimize the number of input/output pins required, which reduces printed circuit board cost and complexity.
Matrix Design
In matrix design, each key switch connects to a row and a column. When a key is pressed, it completes the circuit between a specific row and column, sending a unique signal to the microcontroller. It’s crucial to ensure that the matrix is designed to prevent ghosting and key jamming, which can occur when multiple keys are pressed simultaneously.
2. Selecting Materials and Components
Choosing the right materials and components is essential to ensure the durability and functionality of the keyboard PCB. The board itself is typically made from FR4, a durable and cost-effective material commonly used in PCB manufacturing. However, for high-end mechanical keyboards, you might opt for PCBs with stiffener flex PCB technology to add rigidity and reduce wear and tear.
Switches and Sockets
Mechanical keyboard switches, such as Cherry MX or Gateron, can either be soldered directly onto the PCB or mounted in hot-swappable sockets. The latter allows for easy customization, enabling users to change switches without soldering. When designing the PCB, it’s important to ensure that the holes for switches are precisely aligned with the keyboard case.
Diodes and Microcontroller
Diodes are used in the keyboard matrix to prevent unwanted electrical currents that could cause ghosting. The microcontroller, often a popular model like the ATmega32u4, is the brain of the keyboard, interpreting keypresses and communicating with the computer.
3. PCB Fabrication
Once the design is finalized and materials are selected, the next step is PCB fabrication. This stage involves sending the design files to a pcba manufacturer like ArisenTec. ArisenTec utilizes advanced manufacturing techniques to create high-quality PCBs that adhere to precise specifications for layer thickness, copper weight, and other critical parameters.
Prototyping
Before moving to mass production, it’s advisable to use a pcb prototyping service. ArisenTec offers comprehensive prototyping services that allow you to test the design and make any necessary adjustments before committing to a large production run. This stage is crucial for identifying and resolving issues like trace routing errors, improper component placement, and signal integrity problems.
4. Assembly and Testing
After the PCB is fabricated, the next step is assembly. This process involves placing and soldering components onto the board. For a mechanical keyboard, this includes soldering the switches, diodes, and microcontroller.
Turnkey PCB Assembly
For those looking to streamline the process, a turnkey PCB assembly service like the one provided by ArisenTec can be beneficial. This service handles the entire process, from sourcing components to assembling the PCB, ensuring that each board meets the required quality standards.
Testing
Once assembled, the PCB must undergo rigorous testing. Each key’s functionality is tested, ensuring that the matrix works correctly and that there are no shorts or open circuits. Testing also includes verifying that the microcontroller is properly programmed and that the PCB communicates correctly with the host computer.
5. Final Considerations
The final step in making a mechanical keyboard PCB is considering additional features that can enhance the user experience. These may include adding a flex circuit stiffener for additional support, integrating RGB LED lighting for customizable backlighting, or designing a smart home PCB for advanced features like wireless connectivity.
Conclusion
Creating a mechanical keyboard PCB requires a combination of precise design, careful material selection, and meticulous assembly. By following these steps, from matrix design to final testing, and partnering with a reliable pcba factory like ArisenTec, you can produce a high-quality PCB that meets the specific needs of a mechanical keyboard. Whether for personal use or mass production, understanding the intricacies of PCB manufacturing is crucial to achieving the desired performance and durability in your keyboard.
Choosing the Right Wires for Breadboard Wiring: A Comprehensive Guide
Breadboards are a staple in electronic circuit building, offering flexibility and ease of use for both beginners and professionals. However, one of the most critical aspects of working with breadboards is selecting the right wires. The wires you choose can impact not only the functionality of your circuit but also its longevity and ease of…
How to Improve Heat Dissipation in PCB Design
Introduction As modern electronic devices become more complex and power-dense, heat dissipation has emerged as a critical factor that directly impacts device performance and reliability. Excessive junction temperatures in electronic systems can shorten the lifespan of components and lead to system failure. Thus, optimizing the PCB (Printed Circuit Board) design to improve heat dissipation is…
Manufacturing Process of Multilayer PCBs
Multilayer PCB manufacturing methods include the plated-through hole (PTH) and high-density interconnect (HDI) methods, both achieved by combining different processes to realize the circuit board structure. Currently, the most widely used method is the PTH method, which has been developed and refined over more than half a century. The PTH method is mature in terms…


