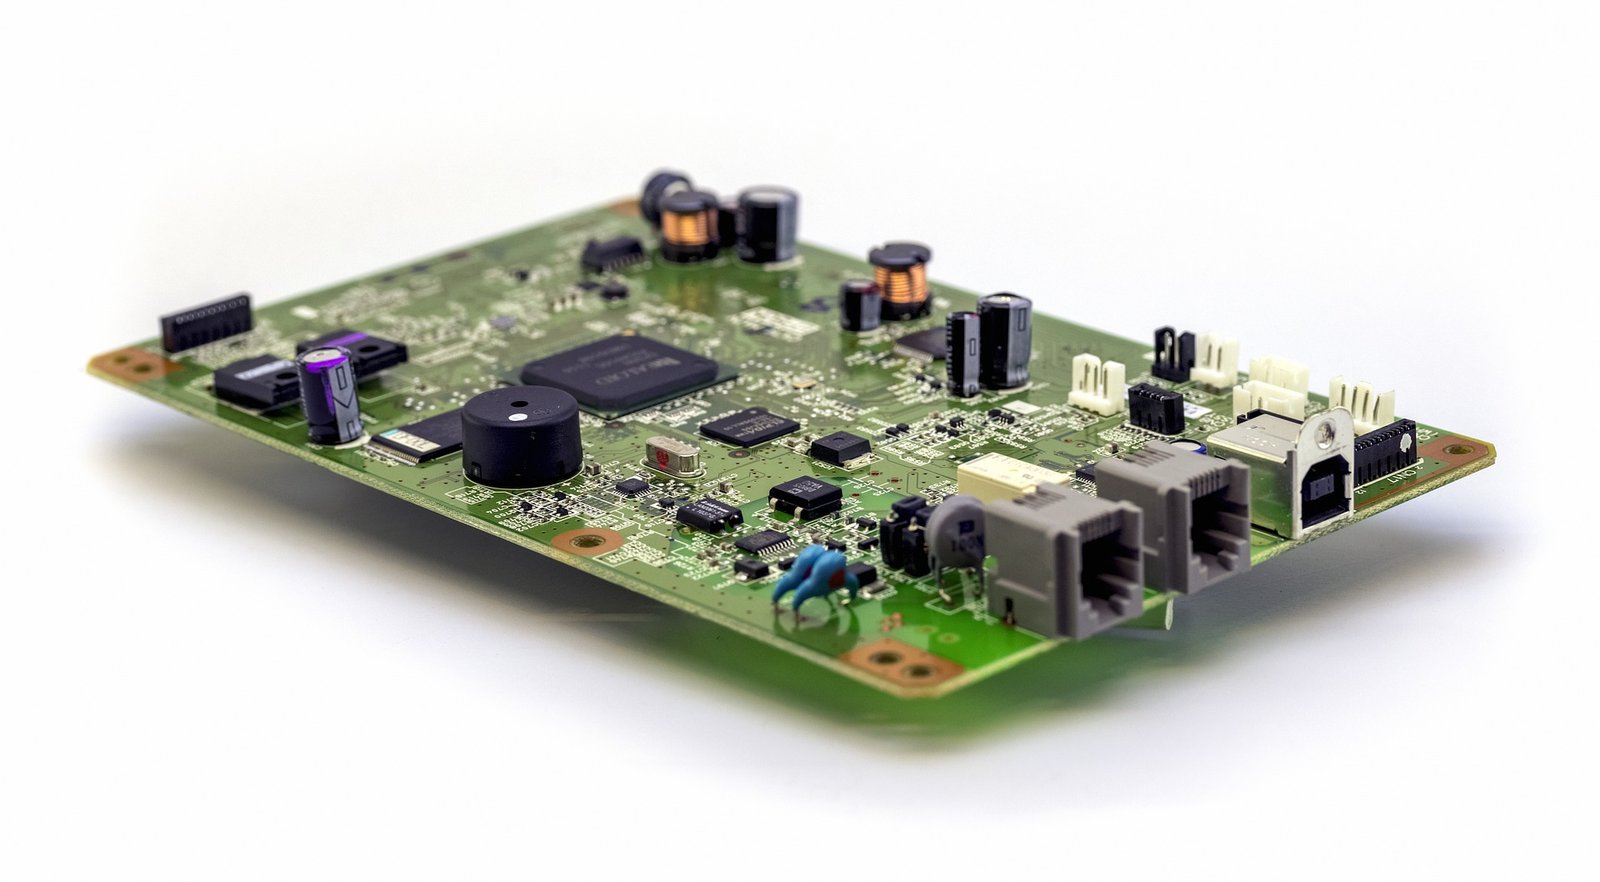
Printed Circuit Board (PCB) relays play a crucial role in electronic devices by allowing low-power control circuits to manage higher power loads. Testing a PCB relay ensures the reliability and performance of electronic circuits, especially in sensitive applications like automotive systems, industrial controls, and home automation. This guide outlines the key steps and methods to effectively test a PCB relay.
Understanding PCB Relay Basics
Before diving into testing procedures, it’s essential to understand how a PCB relay functions. A relay is an electromechanical switch that uses an electromagnetic coil to move contacts, allowing for the control of a high-power circuit with a low-power signal. The relay’s core components include the coil, contacts, armature, and spring. Ensuring that each of these components operates correctly is vital for the relay’s overall performance.
Tools Required for Testing
To test a PCB relay, you will need the following tools:
· Multimeter: Used to measure voltage, current, and resistance.
· Power Supply: To energize the relay coil.
· Test Leads: For connecting the relay to the power supply and multimeter.
· Switch or Push Button: To manually control the relay during testing.
Step-by-Step Testing Procedure
1. Visual Inspection
Begin by conducting a thorough visual inspection of the relay. Check for any signs of physical damage, such as cracks, corrosion, or burnt areas. Ensure that the relay’s pins are intact and free of debris, as these could affect the connection and operation of the relay within the PCB.
2. Continuity Test of the Coil
Using a multimeter set to the resistance (ohms) mode, test the relay coil for continuity:
· Connect the multimeter probes to the relay coil terminals.
· A functional relay coil should show a specific resistance value, usually within the range of hundreds of ohms. If the multimeter reads infinite resistance or zero ohms, the coil is likely open or shorted, indicating a faulty relay.
3. Applying Power to the Coil
To test if the relay is functioning correctly:
· Connect the power supply to the relay coil terminals, ensuring the voltage matches the relay’s rated coil voltage.
· Observe if the relay clicks when power is applied, indicating that the coil is generating the necessary magnetic field to move the contacts.
· If there is no click sound, the relay might be defective.
4. Testing the Normally Open (NO) and Normally Closed (NC) Contacts
Next, check the relay’s switching functionality:
· With the multimeter set to continuity mode, connect one probe to the Common (COM) terminal and the other to the Normally Open (NO) terminal.
· When the relay is not energized, there should be no continuity between COM and NO.
· When you energize the relay by applying power to the coil, the multimeter should indicate continuity between COM and NO.
Similarly, test the Normally Closed (NC) contact:
· With the relay de-energized, there should be continuity between COM and NC. When energized, the continuity should break.
5. Load Test (Optional)
For a more thorough evaluation, conduct a load test by connecting the relay to an actual circuit and observing its operation under load. This step is particularly useful in applications where the relay is expected to handle significant power, such as in automotive PCB services or LED light PCB controls.
Conclusion
Testing a PCB relay is a critical process in ensuring the reliability and functionality of electronic circuits. By following these steps—visual inspection, continuity tests, coil power application, and contact testing—you can accurately determine the condition of a relay. This process is essential in industries where precise control and durability are required, including automotive PCB services and smart home PCB applications. Regular testing helps avoid potential failures in critical systems, ensuring long-term performance and safety.

Choosing the Right Wires for Breadboard Wiring: A Comprehensive Guide
Breadboards are a staple in electronic circuit building, offering flexibility and ease of use for both beginners and professionals. However, one of the most critical aspects of working with breadboards is selecting the right wires. The wires you choose can impact not only the functionality of your circuit but also its longevity and ease of…

How to Improve Heat Dissipation in PCB Design
Introduction As modern electronic devices become more complex and power-dense, heat dissipation has emerged as a critical factor that directly impacts device performance and reliability. Excessive junction temperatures in electronic systems can shorten the lifespan of components and lead to system failure. Thus, optimizing the PCB (Printed Circuit Board) design to improve heat dissipation is…

Manufacturing Process of Multilayer PCBs
Multilayer PCB manufacturing methods include the plated-through hole (PTH) and high-density interconnect (HDI) methods, both achieved by combining different processes to realize the circuit board structure. Currently, the most widely used method is the PTH method, which has been developed and refined over more than half a century. The PTH method is mature in terms…