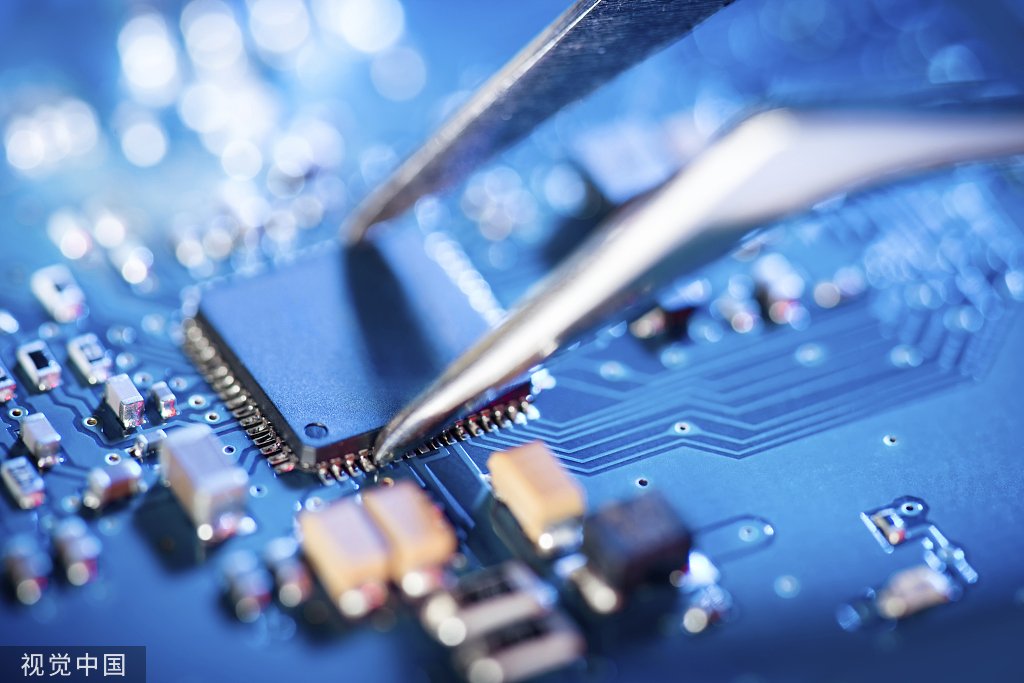
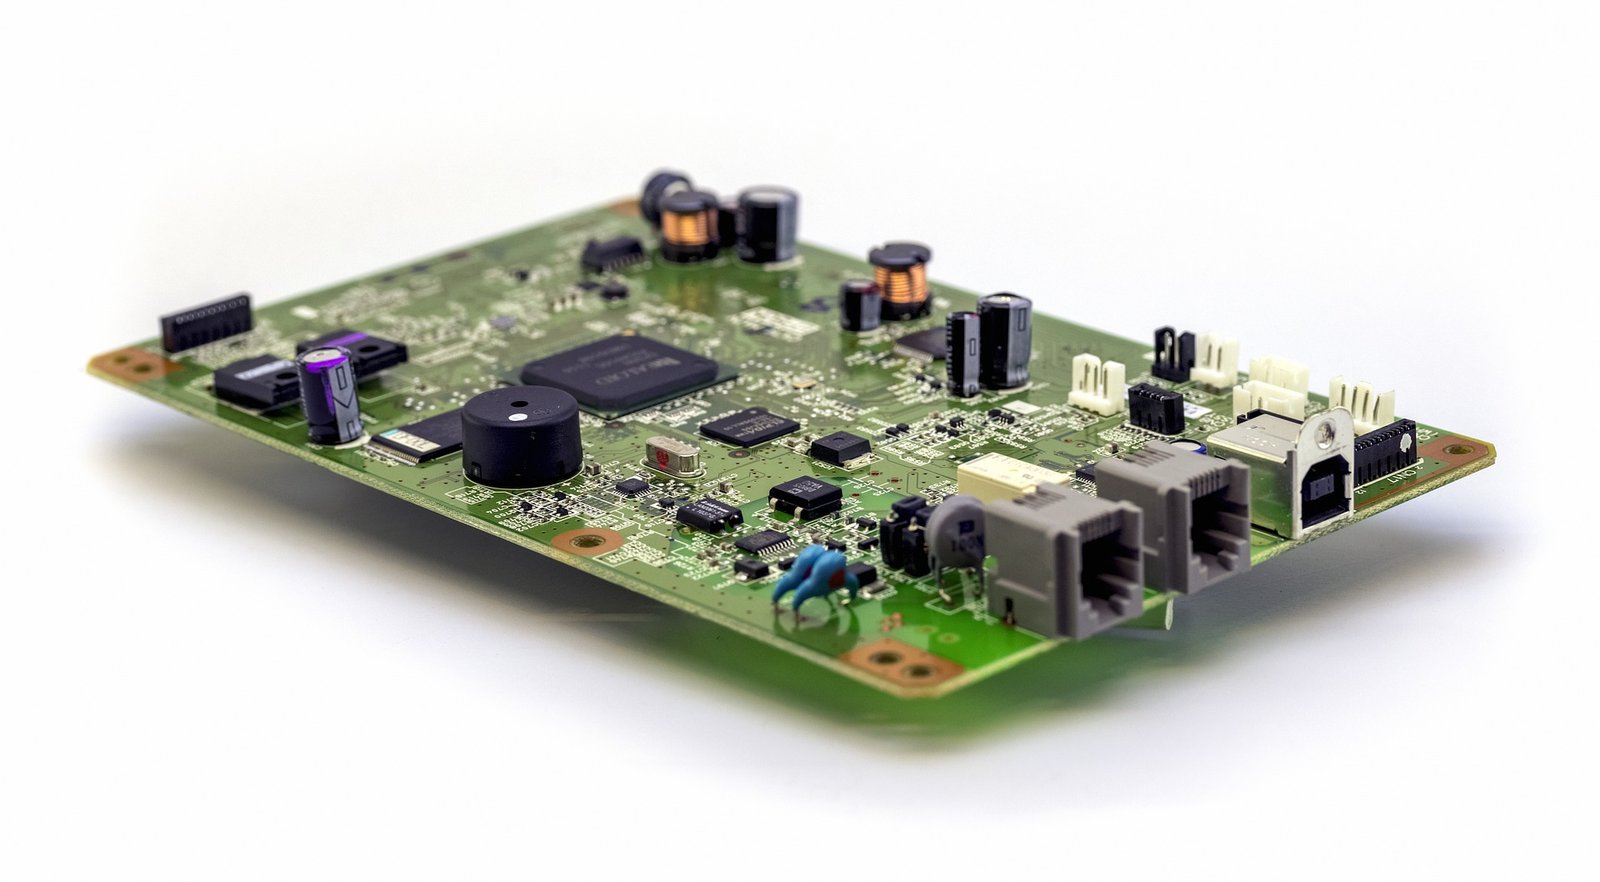
LED PCB ceiling lights offer superior efficiency and longevity, making them a popular choice in both residential and commercial settings. However, like all electrical fixtures, there may come a time when they need to be replaced. This guide will walk you through the process of changing an LED PCB ceiling light, ensuring a safe and successful replacement.
Safety First
Before beginning any electrical work, it is crucial to prioritize safety. Ensure that the power to the light fixture is turned off at the circuit breaker to prevent any risk of electrical shock. Gather the necessary tools, which typically include a screwdriver, wire cutters, and possibly a ladder, depending on the height of the ceiling.
Step-by-Step Guide
1. Remove the Old Light Fixture
Start by removing the cover or diffuser from the existing light fixture. This may require unscrewing it or gently prying it off, depending on the design. Once the cover is removed, you will have access to the LED PCB and its mounting hardware.
Disconnect the Wiring
Carefully observe how the fixture is wired. Typically, there will be three wires: live, neutral, and ground. Using a screwdriver, loosen the terminal screws and disconnect these wires. If the wires are connected using push-in connectors, press the release mechanism to free the wires. Make a note of the wiring configuration to ensure proper installation of the new fixture.
2. Install the New LED PCB Ceiling Light
Prepare the New Fixture
Unpack the new LED PCB ceiling light and inspect it for any shipping damage. Ensure that all components, including screws, mounting brackets, and wiring connectors, are present.
Mount the New Fixture
Align the new fixture with the mounting holes on the ceiling. Secure it in place using the provided screws or mounting brackets. It is essential to ensure that the fixture is securely attached to avoid any future issues.
Reconnect the Wiring
Following the wiring configuration noted earlier, connect the live, neutral, and ground wires to the corresponding terminals on the new fixture. Tighten the terminal screws securely to ensure a solid electrical connection. If push-in connectors are used, ensure the wires are fully inserted and secure.
3. Test the New Fixture
Once the new LED PCB ceiling light is installed and wired, carefully restore power at the circuit breaker. Turn on the light switch to test the fixture. If it does not illuminate, turn off the power and double-check the wiring connections.
Considerations for LED PCB Ceiling Lights
Energy Efficiency and Longevity
One of the significant advantages of LED PCB ceiling lights is their energy efficiency and long lifespan. These fixtures consume less power compared to traditional incandescent or fluorescent lights, resulting in lower electricity bills and reduced environmental impact.
Cost-Effectiveness
While the initial printed circuit board cost of LED fixtures may be higher, their durability and energy savings make them a cost-effective choice in the long run. Additionally, many best PCB manufacturers offer warranties, further enhancing their value.
Customization and Design
LED PCB ceiling lights can be customized to suit various applications, including smart home PCB systems, automotive PCB service, and led light PCB designs. Their versatility makes them an ideal choice for modern lighting solutions.
Detailed Steps and Best Practices
Selecting the Right LED PCB Ceiling Light
When selecting a new LED PCB ceiling light, it is essential to consider several factors to ensure optimal performance and compatibility with your existing setup. Key considerations include the light’s brightness, color temperature, size, and mounting requirements.
Brightness and Color Temperature
LED lights come in various brightness levels and color temperatures. The brightness, measured in lumens, should match the requirements of the space. For instance, a living room may require a different brightness level compared to a kitchen or workspace. Similarly, the color temperature, measured in Kelvin (K), affects the light’s appearance. Warmer temperatures (2700K-3000K) create a cozy ambiance, while cooler temperatures (4000K-5000K) are suitable for task-oriented spaces.
Size and Mounting Requirements
Ensure that the new LED PCB ceiling light fits the existing mounting location. Measure the dimensions of the old fixture and compare them with the new one. Additionally, consider the mounting mechanism; some lights may require specific brackets or hardware for secure installation.
Understanding LED PCB Technology
Structure and Components
An LED PCB (Printed Circuit Board) is a critical component of modern LED lighting systems. It serves as the foundation for mounting LED chips and other electronic components. The PCB ensures efficient heat dissipation, electrical connectivity, and structural support for the LEDs.
Heat Management
Effective heat management is vital for the longevity and performance of LED lights. LED PCBs are designed with materials that enhance thermal conductivity, such as aluminum or copper. Proper heat dissipation prevents overheating, which can degrade the LEDs and reduce their lifespan.
Advanced Installation Tips
Using a Flex PCB Stiffener
In some installations, particularly where the fixture design is complex or the mounting surface is uneven, a flex PCB stiffener can be beneficial. This component provides additional support and stability to the flexible PCB, ensuring a secure and reliable installation.
Ensuring Proper Electrical Connections
To ensure optimal performance and safety, use high-quality connectors and follow proper wiring practices. Avoid over-tightening screws, which can damage wires, and ensure that all connections are secure and free from corrosion. If in doubt, consult a professional electrician for assistance.
Post-Installation Considerations
Routine Maintenance
LED PCB ceiling lights require minimal maintenance, but periodic checks can ensure their longevity and performance. Inspect the fixture for any signs of damage, loose connections, or dust accumulation. Cleaning the fixture with a soft, dry cloth can maintain its brightness and efficiency.
Upgrading to Smart Lighting Systems
For those looking to enhance their lighting setup, consider upgrading to smart LED PCB ceiling lights. These systems offer advanced features such as remote control, scheduling, and integration with home automation systems. Smart home PCB technology allows for customizable lighting solutions that can improve energy efficiency and convenience.
Conclusion
Changing an LED PCB ceiling light involves a few straightforward steps but requires attention to detail and safety. By following this guide, you can ensure a successful replacement, benefiting from the energy efficiency, longevity, and versatility of LED lighting. For more detailed information and high-quality LED PCB solutions, visit ArisenTec.
The process of replacing an LED PCB ceiling light is an excellent opportunity to upgrade to more advanced and energy-efficient lighting solutions. By understanding the nuances of LED PCB technology and following best practices, you can enhance the lighting quality and efficiency of your space. Whether you are a homeowner or a business, investing in high-quality LED PCB ceiling lights from reputable pcba manufacturers will ensure long-term satisfaction and performance.
For additional resources and expert advice on LED PCB lighting, consider exploring ArisenTec’s comprehensive range of products and services. Their commitment to quality and innovation makes them a trusted partner for all your LED PCB needs.
Choosing the Right Wires for Breadboard Wiring: A Comprehensive Guide
Breadboards are a staple in electronic circuit building, offering flexibility and ease of use for both beginners and professionals. However, one of the most critical aspects of working with breadboards is selecting the right wires. The wires you choose can impact not only the functionality of your circuit but also its longevity and ease of…
How to Improve Heat Dissipation in PCB Design
Introduction As modern electronic devices become more complex and power-dense, heat dissipation has emerged as a critical factor that directly impacts device performance and reliability. Excessive junction temperatures in electronic systems can shorten the lifespan of components and lead to system failure. Thus, optimizing the PCB (Printed Circuit Board) design to improve heat dissipation is…
Manufacturing Process of Multilayer PCBs
Multilayer PCB manufacturing methods include the plated-through hole (PTH) and high-density interconnect (HDI) methods, both achieved by combining different processes to realize the circuit board structure. Currently, the most widely used method is the PTH method, which has been developed and refined over more than half a century. The PTH method is mature in terms…


