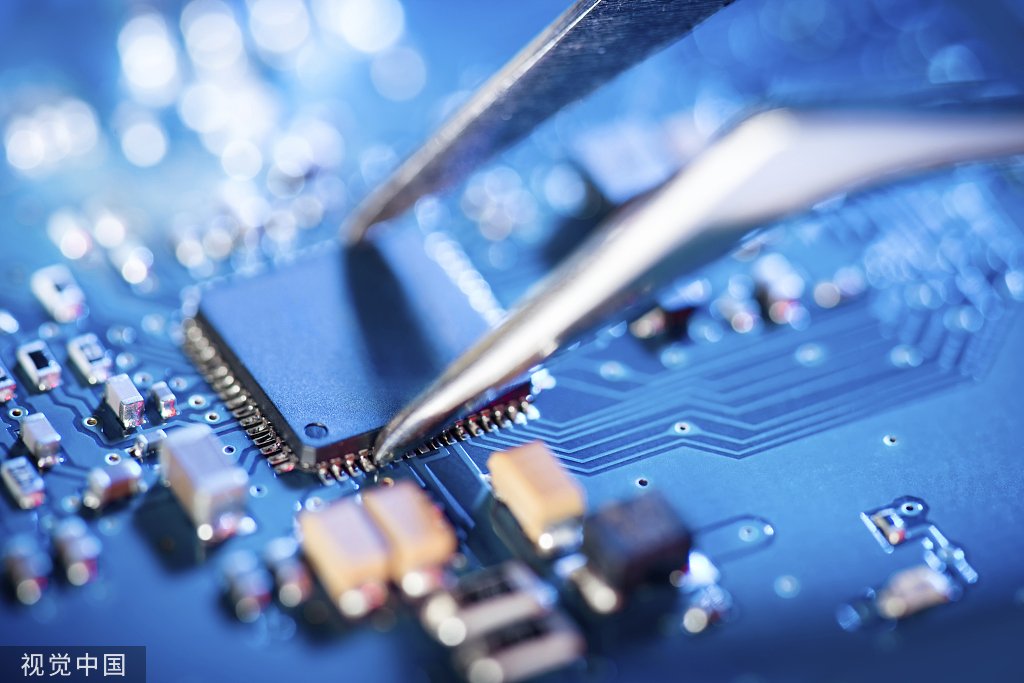
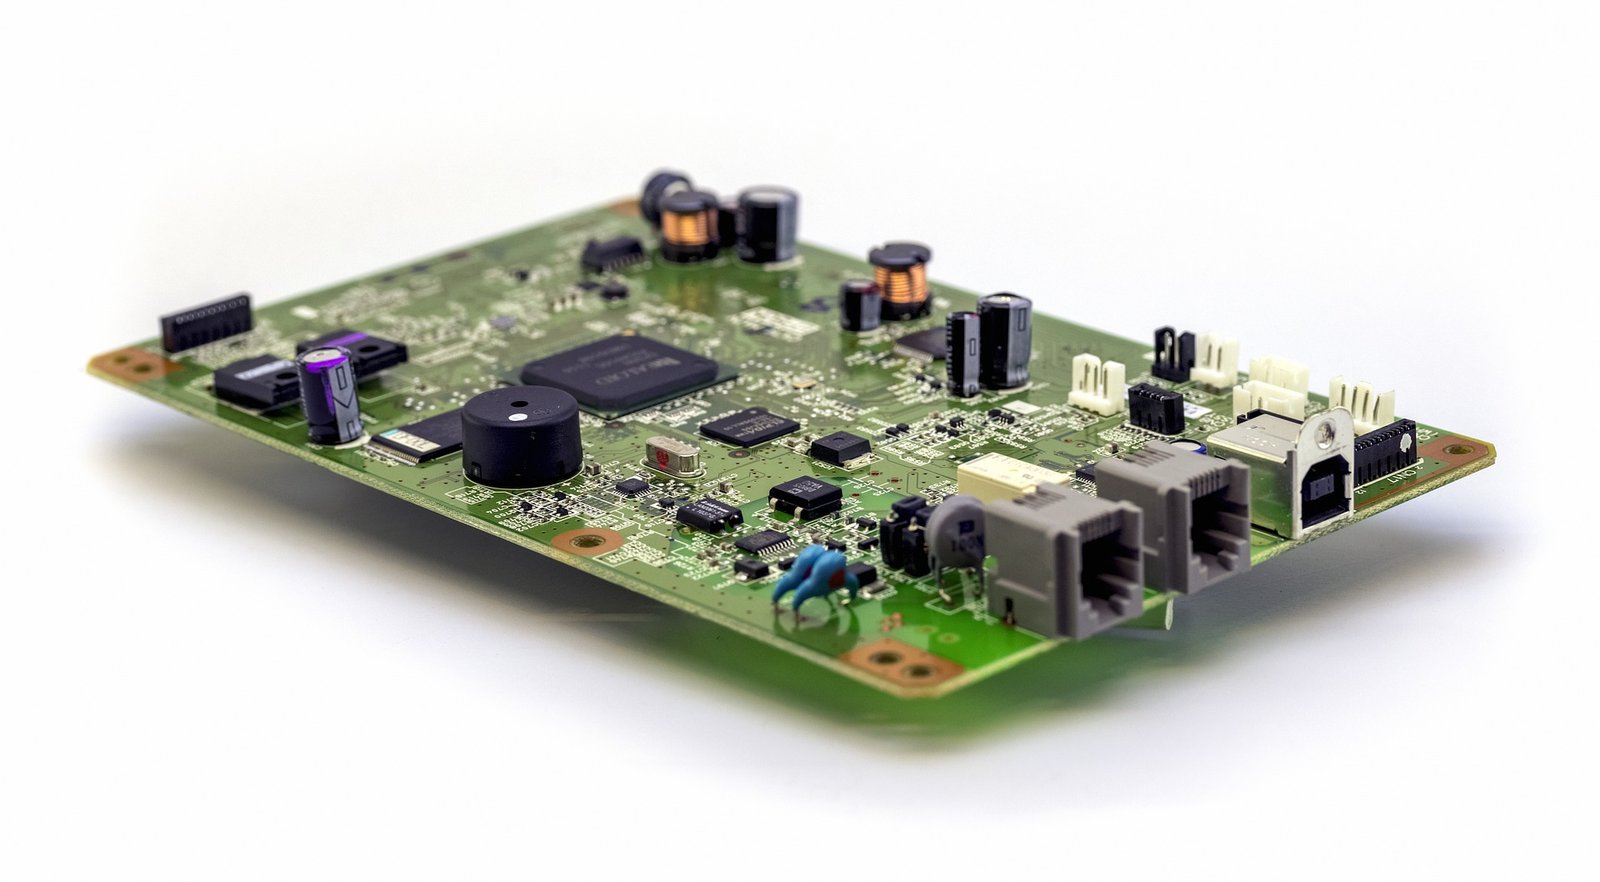
Testing a printed circuit board (PCB) with a multimeter is a crucial step in ensuring that the board functions correctly. This process helps identify potential issues such as short circuits, open circuits, or incorrect component placements. By following a systematic approach, you can diagnose and resolve problems effectively, ensuring that the PCB meets quality standards before moving to the next stage of production. At ArisenTec, a leading pcba manufacturer, rigorous testing processes are implemented to guarantee the highest quality in all PCB assemblies.
Understanding the Basics
What is a Multimeter?
A multimeter is a versatile electronic measuring instrument that can measure voltage, current, and resistance. It is an essential tool in pcba manufacturing and other electronics-related tasks. For testing a PCB, the multimeter is primarily used in two modes: continuity mode and resistance mode.
Preparing the PCB for Testing
Before testing, ensure that the PCB is powered off. Working with a live board can be dangerous and may damage both the board and the multimeter. Remove any external connections to avoid interference during testing.
Testing Procedures
1. Visual Inspection
Before using the multimeter, perform a thorough visual inspection of the PCB. Look for obvious defects like broken traces, misplaced components, or poor solder joints. Visual checks are a crucial part of pcba manufacturing quality control, as they can quickly identify issues that multimeter testing might not.
2. Continuity Test
A continuity test checks whether a circuit is complete by verifying that there is a continuous path between two points.
· Set the Multimeter to Continuity Mode: Switch the multimeter to the continuity setting, usually indicated by a diode symbol or soundwave icon.
· Test the Circuit: Place one probe on one end of the trace or connection and the other probe on the opposite end. If the circuit is complete, the multimeter will beep, indicating continuity. If there is no sound, the circuit is open, and you may have a broken trace or a poor solder joint.
3. Resistance Measurement
Resistance measurement helps in verifying that resistors and other passive components are within their specified tolerance range.
· Set the Multimeter to Resistance Mode: Choose the appropriate resistance setting on the multimeter.
· Measure Component Resistance: Place the probes across the component leads. Compare the measured resistance with the component’s specified value. A significant deviation might indicate a faulty component, requiring replacement.
4. Voltage Measurement
Testing the voltage levels across various points on the PCB helps in verifying that the components are receiving the correct power supply.
· Set the Multimeter to Voltage Mode: Select the appropriate DC voltage range.
· Measure the Voltage: Place the black probe on the ground reference point and the red probe on the test point. Compare the measured voltage with the expected values from the PCB design specifications. Any discrepancies can indicate potential issues in the power distribution network.
ArisenTec’s precision testing ensures that each PCB is powered correctly, which is critical for the performance of high-reliability electronics, such as automotive pcb service and smart home pcb applications.
5. Checking Diodes and Transistors
Diodes and transistors must be tested for correct operation, as these are critical components in many PCBs.
· Set the Multimeter to Diode Mode: For diode testing, select the diode test mode on the multimeter.
· Test the Diode: Place the probes across the diode. The multimeter should show a small voltage (usually around 0.7V for silicon diodes) in one direction and no continuity in the other, confirming the diode’s correct orientation and operation.
6. Testing Capacitors
Capacitors can be tested for proper charging and discharging behavior.
· Discharge the Capacitor: Before testing, ensure that the capacitor is fully discharged to avoid damaging the multimeter.
· Measure Capacitance: Set the multimeter to the capacitance mode (if available) and place the probes across the capacitor leads. The multimeter should display the capacitance value, which can be compared with the expected value.
Conclusion
Testing a PCB with a multimeter is a vital process that ensures the reliability and performance of electronic circuits. By systematically performing continuity tests, resistance measurements, and voltage checks, engineers can identify and rectify issues before the PCB progresses to the assembly stage. This meticulous approach is essential in pcba manufacturing, where precision and quality are paramount.
At ArisenTec, a leading pcba factory, we employ advanced testing techniques to ensure that each PCB meets the highest standards of quality. Whether dealing with complex designs like flex circuit stiffener applications or standard PCB assemblies, ArisenTec is committed to delivering products that exceed customer expectations in reliability and performance.
Choosing the Right Wires for Breadboard Wiring: A Comprehensive Guide
Breadboards are a staple in electronic circuit building, offering flexibility and ease of use for both beginners and professionals. However, one of the most critical aspects of working with breadboards is selecting the right wires. The wires you choose can impact not only the functionality of your circuit but also its longevity and ease of…
How to Improve Heat Dissipation in PCB Design
Introduction As modern electronic devices become more complex and power-dense, heat dissipation has emerged as a critical factor that directly impacts device performance and reliability. Excessive junction temperatures in electronic systems can shorten the lifespan of components and lead to system failure. Thus, optimizing the PCB (Printed Circuit Board) design to improve heat dissipation is…
Manufacturing Process of Multilayer PCBs
Multilayer PCB manufacturing methods include the plated-through hole (PTH) and high-density interconnect (HDI) methods, both achieved by combining different processes to realize the circuit board structure. Currently, the most widely used method is the PTH method, which has been developed and refined over more than half a century. The PTH method is mature in terms…


